
12 Days of Cookie Christmas: Day 9 – Sugar Cookies
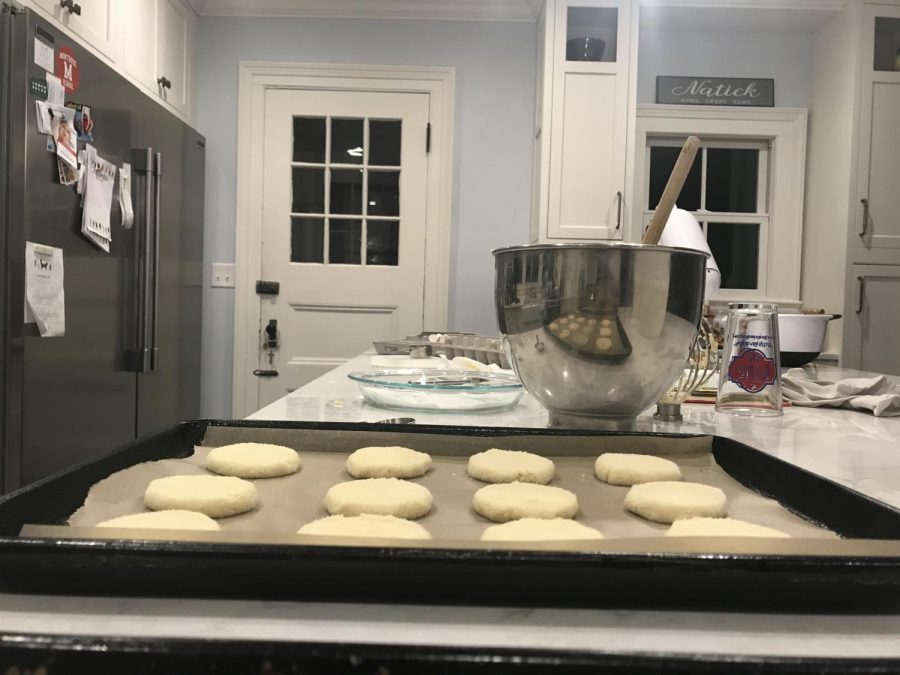
The sugar cookies have been formed and flattened and are ready to bake!
Every December I’m overcome by an urge to make sugar cookies. And every December my family encourages me to bake these treats so they can reap the rewards of my efforts. Just a warning: though the recipe yields 24 cookies and is easy to double (or even triple), the cookies have never survived more than two days at my house. They’re just that good. The simplicity of the cookies’ flavor is reflected in the simplicity of the recipe, so I’d definitely recommend this to anybody regardless of baking experience. If you can use a mixer and an oven, you should be good to go! Though these sugar cookies are good hot or cold, they are at their best right out of the oven, so treat yourself while you’re baking and have one (or more) in the moment. My other advice concerns the technique for forming the cookies, so pay extra attention to those steps below. Happy baking!
This recipe is adapted from The America’s Test Kitchen Family Cookbook
Ingredients:
2 cups sugar
2 ½ cups all-purpose flour
½ teaspoon baking powder
½ teaspoon salt
14 tablespoons (1 ¾ sticks) unsalted butter, softened
2 teaspoons vanilla extract
2 large eggs
Recipe:
- Place your oven rack in the middle position and preheat to 350 degrees. Put ½ cup of sugar in a shallow dish (I highly recommend a pie pan if you have one) and set aside. Line baking sheets with parchment paper (I like to use 2 baking sheets if possible).
- In a separate bowl, whisk the flour, baking powder, and salt together and set aside.
- With an electric mixer, beat the butter and remaining sugar (1 ½ cups) together in a large bowl on medium speed until light and fluffy, anywhere from 2 to 4 minutes. Beat in the vanilla, then the eggs, one at a time, until combined, about 30 seconds, scraping down the bowl and beaters as needed.
- Reduce the mixer speed to low and slowly mix in the flour mixture until combined, about 30 seconds. I like to put in roughly ⅓ of the mixture, wait until it is just incorporated, and then repeat twice more with the remaining ⅔ of the mixture. Give the dough a final stir with a rubber spatula to make sure it is combined.
- Wet your hands (they should obviously be clean already so just use water!). Scoop out roughly 2 tablespoons of dough and roll that into a ball with your wet hands. Roll in the sugar set aside in the dish and then place on your lined baking sheet. Repeat until you have 12 balls of dough on the sheet, all of which are about 2 inches apart. I often find that I need to rewet my hands every 4-5 balls of dough.
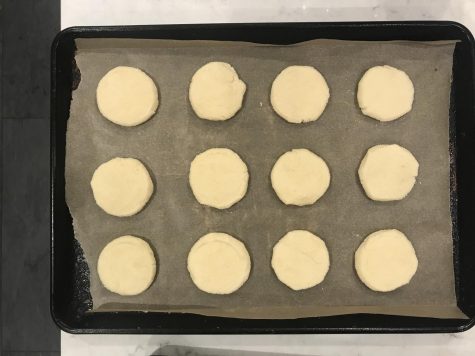
- Smear butter on the flat bottom of a drinking glass (about 2 inches in diameter) and then place the buttered bottom into the sugar dish. Use this to flatten the cookies to an even, roughly ¾ inch thickness. Sprinkle sugar on the top of the cookies.
- Bake one sheet of the cookies at a time for 5 ½ minutes, rotate the sheet 180 degrees and then bake for another 5 ½ minutes. Take the cookies out once the edges are set and ever so slightly brown but the centers are still soft and puffy.
- Let the cookies cool on the baking sheet for 10 minutes, then serve warm or place on a wire rack to cool completely.
- Enjoy!
Tess Farr ‘22, Managing Copy Editor
22tfarr@montroseschool.org