
How To Make Your Own Facemask!
The following tutorial is taken from the youtube channel Jess OklaRoots. A link to the video is attached below.
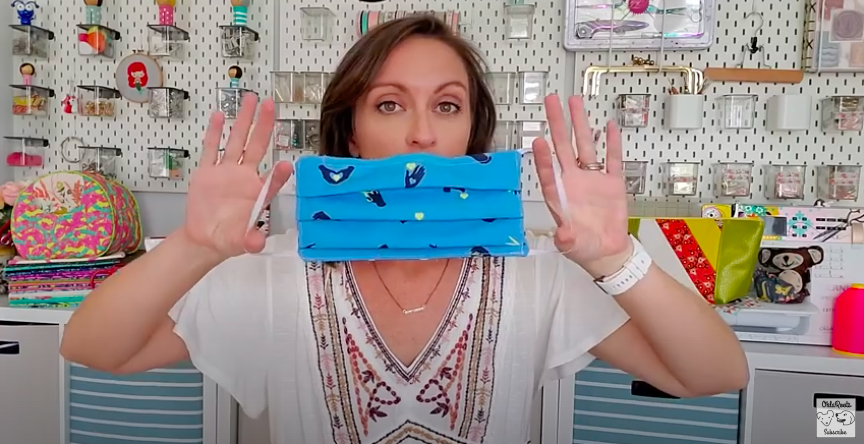
In need of something to do? Feeling crafty? Want to go to the supermarket protected yet still in style? Well, boy oh boy, do I have a project for you. Following the steps below, you can make your very own CUSTOM FACEMASK! The facemask we will make below has an inner pocket so you can put your own filter in if you would like.
You will need:
- 2 pieces of 4.5”x9” fabric — this will be the lining fabric
- 1 piece of 7”x9” fabric — this will be the outer fabric
- 2 pieces of 6” to 7” elastic
- One pipe cleaner cut to 6”
- Pins
- Sewing machine or needle and thread
- Iron (optional but recommended)
Some sewing terms:
- Right side: The side with the pattern of the fabric on it most strongly. Think of it as the side you want to be showing
- Wrong sides: the underside of the fabric. The colors are more muted and the pattern usually doesn’t look as clear.
- Press: use an iron to flatten a fold and make it crisp.
- Raw edge: an edge that isn’t hemmed.
Instructions:
*Please note: the seam allowance for the project is always ¼” unless otherwise specified.
- On each lining fabric, measure one inch up from one of the 9” sides and draw a line across. You may press it if you would like. Then, hem the fabric up to this line. You should have two pieces of lining, each with one side hemmed.
- Pin each elastic to the top and bottom corner of the 7” side of the main fabric, with the right sides facing the pin. Bend the elastic and pin the middle of each strand in at least ½ an inch away from the side, to prevent the elastic from being caught in the seams.
- Take the first piece of lining fabric and pin the raw 9” edge to one of the 9” edges on the main fabric, right sides facing each other. Then, sew along the top, making sure to go through the elastics at each corner.
- Repeat step 3 with the other piece of lining. Remember to pin them right sides together and to sew through the elastic at the corners.
- Now, pin and sew both shorter sides together. Be careful not to catch the middle of the elastic in this side seam. Flip the mask inside out so the right sides of the fabric and the lining are showing.
- Insert the pipe cleaner into the top of your mask in the space between the lining and the outer fabric. Pin it into the center, then stitch around the pipe cleaner in a box shape to secure it in place. This will allow you to pinch the pipe cleaner so the mask will fit your nose.
- Make around 3 pleats in the mask, having the crease go across the long part of the rectangle. Try to make each fold creating the pleat of equal size: they should be a little less than ½ an inch. Pin these pleats and sew along the sides of the mask to secure them.
- Finally, sew across the bottom of the mask to make sure the lining and the main fabric are secure to each other.
- Enjoy your new mask!
When sewn with a machine, these masks are machine-washable, and can be washed after use to disinfect. For the original tutorial, click here: https://www.youtube.com/watch?v=bCCtGq6maw8&feature=youtu.be
Emma Barry ’22, News Editor
22ebarry@montroseschool.org